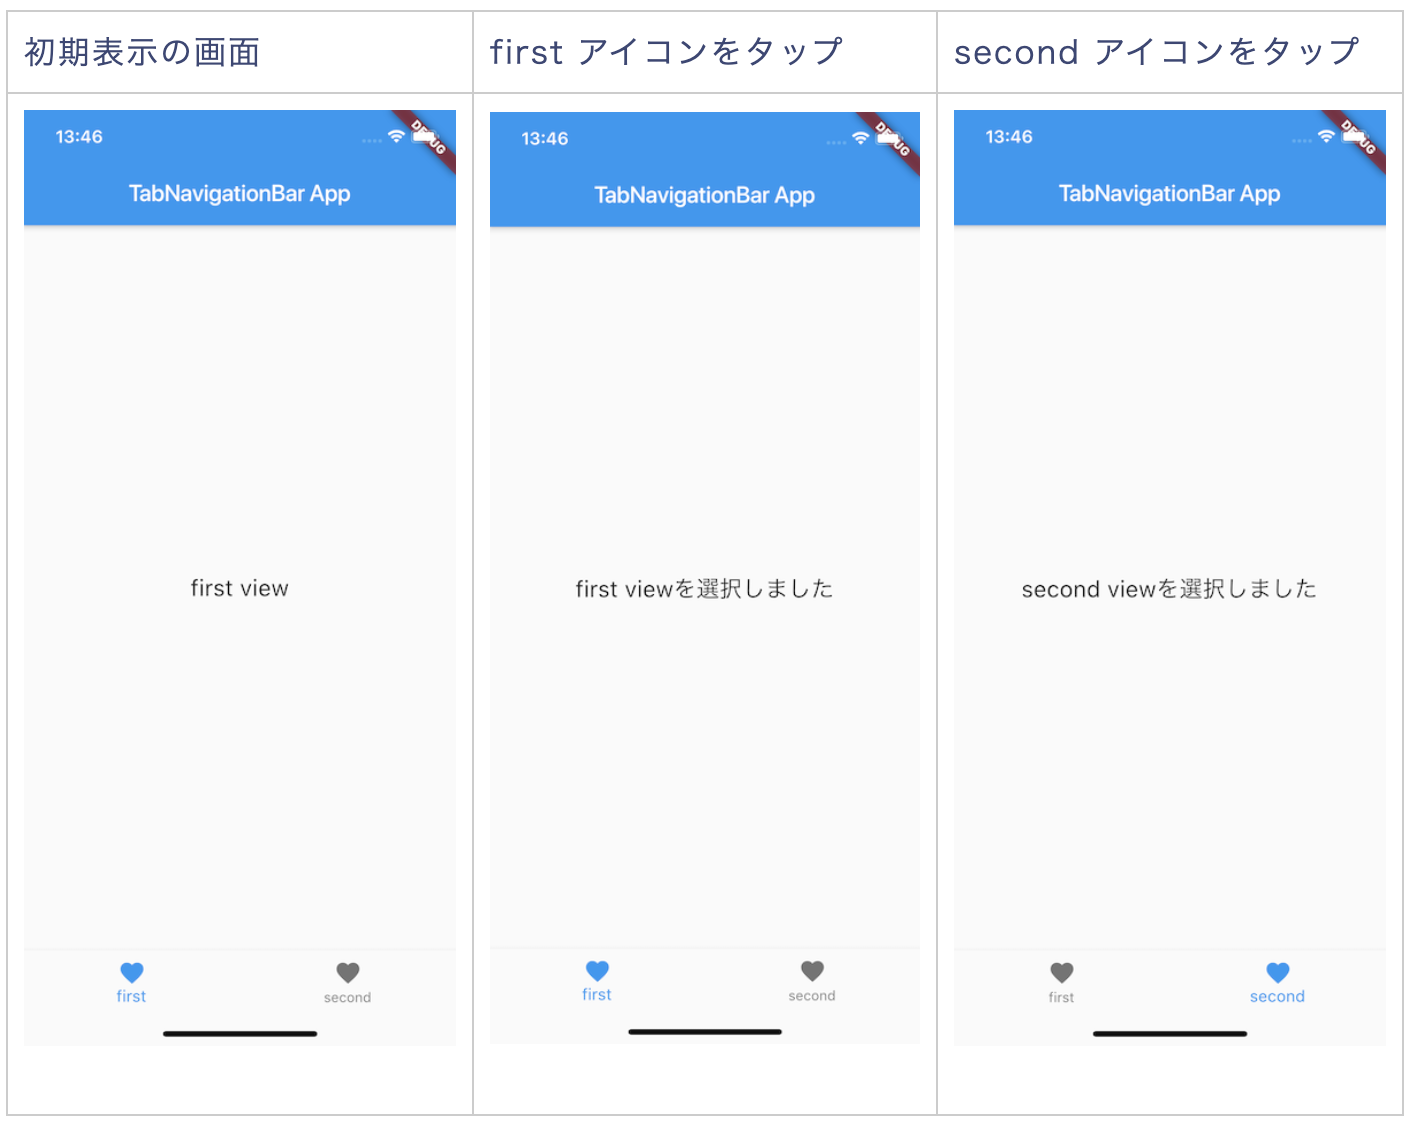
12. FlutterのTabbarであるBottomNavigationBarについて学習する
tamappe Tamappe Life Log
【目次】
本日は前回作成したサークルプログレスバーにアニメーションを入れる作業をしていきます。
前回分の内容
出来上がりは前回ツイッターで呟いたようなアニメーションになります。
– CustomPainter
– AnimationController
– Animationこれらを組み合わせてFlutterでサークルインジケーターを作成してみた。 pic.twitter.com/kPa8feKj5j
— Tamappe@Flutter頑張る (@tamapppe) May 10, 2020
アニメーションを入れるクラスを CircleProgress にします。
circle_progress.dart
import 'package:flutter/material.dart';
import 'dart:math';

class CircleProgress extends CustomPainter {

  double currentProgress;
  CircleProgress(this.currentProgress);

  @override
  void paint(Canvas canvas, Size size) {
    Paint outerCircle = Paint()
        ..strokeWidth = 5
        ..style = PaintingStyle.stroke;
    Paint completeArc = Paint()
      ..strokeWidth = 5
      ..color = Colors.white
      ..style = PaintingStyle.stroke
      ..strokeCap = StrokeCap.round;

    Offset center = Offset(size.width /2, size.height / 2);
    double radius = min(size.width / 2, size.height / 2) - 7;

    if (currentProgress >= 200) {
        outerCircle.color = Colors.yellowAccent;
    } else if (currentProgress >= 100) {
        outerCircle.color = Colors.white;
    }

    canvas.drawCircle(center, radius, outerCircle);
    if (currentProgress >= 200) {
        currentProgress = currentProgress - 200;
        completeArc.color = Colors.greenAccent;
    } else if (currentProgress >= 100) {
        currentProgress = currentProgress - 100;
        completeArc.color = Colors.yellowAccent;
    }
    double angle = 2 * pi * (currentProgress / 100);
    canvas.drawArc(Rect.fromCircle(center: center, radius: radius), -pi/ 2, angle, false, completeArc);
  }

  @override
  bool shouldRepaint(CustomPainter oldDelegate) {
    return true;
  }
}
currentProgress には秒が入る想定です。
3, 2, 1 を表示する画面の widget を作成します。
start_count_page.dart
import 'package:flutter/material.dart';
import 'package:twentyfive/pages/play_page.dart';
import 'package:twentyfive/utils/constants.dart';
import 'package:twentyfive/widgets/circle_progress.dart';

class StartCountPage extends StatefulWidget {
  @override
  _StartCountPageState createState() => _StartCountPageState();
}

class _StartCountPageState extends State<StartCountPage> with SingleTickerProviderStateMixin {
  AnimationController progressController;
  Animation animation;

  double millSeconds = 3;

  @override
  void initState() {
    super.initState();
    progressController = AnimationController(vsync: this, duration: Duration(milliseconds: 3000));
    animation = Tween<double>(begin: 0, end: 300).animate(progressController);
    animation.addListener(() {
      /// アニメーション中の処理を書く
      setState(() {
        double localSecond = 300 - animation.value;
        millSeconds = 1 + localSecond / 100;
      });
    });
    animation.addStatusListener((status) {
      /// status を引数にした処理が書ける
      if (status == AnimationStatus.completed)
        Navigator.push(
          context,
          new MaterialPageRoute<Null>(
            settings: const RouteSettings(name: Constants.playRoute),
            builder: (BuildContext context) => PlayPage(),
          ),
        );
    });
    progressController.forward();
  }

  @override
  Widget build(BuildContext context) {
    return Scaffold(
      body: Center(
        child: CustomPaint(
          foregroundPainter: CircleProgress(animation.value),
          child: Container(
            width: 200,
            height: 200,
            child: Center(child: Text('${millSeconds.toInt()}')),
          ),
        ),
      ),
    );
  }
}start_page.dart
import 'package:flutter/material.dart';
import 'package:twentyfive/pages/start_count_page.dart';
import 'package:twentyfive/utils/constants.dart';

class StartPage extends StatefulWidget {
  @override
  _StartPageState createState() => _StartPageState();
}

class _StartPageState extends State<StartPage> {
  @override
  Widget build(BuildContext context) {
    return Scaffold(
      body: Container(
        decoration: new BoxDecoration(color: Colors.black),
        child: Center(
          child: FlatButton(
            child: Text(
              'Start',
              style: TextStyle(color: Colors.white),
            ),
            onPressed: () {
              Navigator.push(
                context,
                new MaterialPageRoute<Null>(
                  settings: const RouteSettings(name: Constants.startCountRoute),
                  builder: (BuildContext context) => StartCountPage(),
                  fullscreenDialog: true, // ダイアログで表示するかどうか
                ),
              );
            },
          ),
        ),
      ),
    );
  }
}最後に main.dart です。
main.dart
import 'package:flutter/material.dart';
import 'package:twentyfive/pages/play_page.dart';
import 'package:twentyfive/pages/start_page.dart';
import 'package:twentyfive/utils/constants.dart';

void main() => runApp(MyApp());

class MyApp extends StatelessWidget {
  // This widget is the root of your application.
  @override
  Widget build(BuildContext context) {
    return MaterialApp(
      initialRoute: '/start',
      routes: <String, WidgetBuilder>{
        Constants.startRoute: (BuildContext context) => StartPage(),
      },
      title: 'Numbers',
      theme: new ThemeData(
        brightness: Brightness.dark,
        primaryColor: Colors.lightBlue[800],
        accentColor: Colors.cyan[600],
      ),
    );
  }
}便宜上、さきにソースコードを載せておきました。
本日はカウント画面がメインになりますので start_count_page.dart の実装を説明していきます。
@override
  Widget build(BuildContext context) {
    return Scaffold(
      body: Center(
        child: CustomPaint(
          foregroundPainter: CircleProgress(animation.value),
          child: Container(
            width: 200,
            height: 200,
            child: Center(child: Text('${millSeconds.toInt()}')),
          ),
        ),
      ),
    );
  }
なんと、 CustomPainter を継承したサブクラスを載せる widget に CustomPaint というものがあります。
CustomPaint(
          foregroundPainter: CircleProgress(animation.value),
          child: Container(
            width: 200,
            height: 200,
            child: Center(child: Text('${millSeconds.toInt()}')),
          )
CustomPaint には foregroundPainter なるプロパティがあり、
これに CustomPainter を継承したサブクラスを乗せると描写できるみたいです。
次に前回は AnimationController を紹介しましたが、これの他にアニメーション自体を細かく調整する Animation があります。
Animation animation;今回は Tween という、開始値と終了値を指定できるものを使ってアニメーションの細かい処理を書きました。
animation = Tween<double>(begin: 0, end: 300).animate(progressController);
    animation.addListener(() {
      /// アニメーション中の処理を書く
      setState(() {
        double localSecond = 300 - animation.value;
        millSeconds = 1 + localSecond / 100;
      });
    });
    animation.addStatusListener((status) {
      /// status を引数にした処理が書ける
      if (status == AnimationStatus.completed)
        Navigator.push(
          context,
          new MaterialPageRoute<Null>(
            settings: const RouteSettings(name: Constants.playRoute),
            builder: (BuildContext context) => PlayPage(),
          ),
        );
    });
こんな感じに書いています。
_animation の animate に AnimationController をセットすることで AnimationController と Animation が連携できるようです。
などがあります。
addListener ではカウントの秒の値が変更される度にmillSecondsに通知を贈りたいので setState を呼んでいます。
addStatusListener ではアニメーションが終了したことを検知してプレイ画面に遷移させる処理を書いています。
あとは値が変更されるたびに CircleProgress と Text に変更を与えたいので、
CircleProgress(animation.value)
Text('${millSeconds.toInt()}')
という風に変数を入れてます。
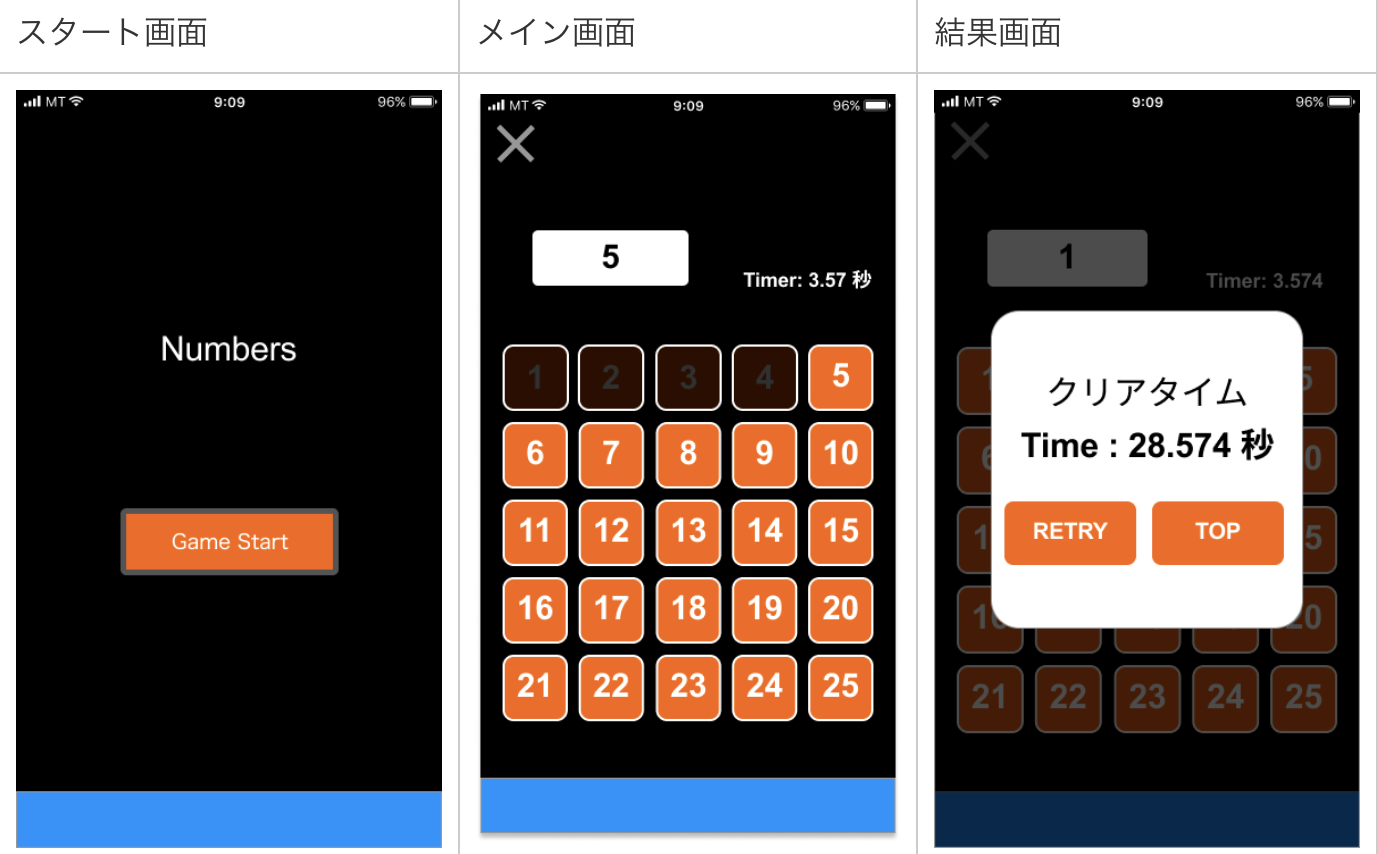
これでメーターがクルクル回ったようなアニメーションが出来上がります。実際にアプリをビルドして確認すると次のような動きになります。
今回はソースコードばかりになってしまいました。
アニメーションの基礎は前回やりましたので後は実践あるのみ、な感じですね!
これでスタート画面からゲーム画面までの大まかな実装が完了しました。
次回以降はゲームのロジックに入ります。
それではバイバイ。