3. Flutter のState クラスについて勉強する
tamappe Tamappe Life Log
今回はFlutter のレイアウトで使うレイアウトの一部について学習します。
学習するウィジェットはText, Center, Container クラスです。
まずはサンプルコードを書きます。
Text(
'Hello Flutter',
style: TextStyle(fontSize: 32.0,
color: const Color(0xff000000),
fontWeight: FontWeight.w700,
fontFamily: "Roboto"),
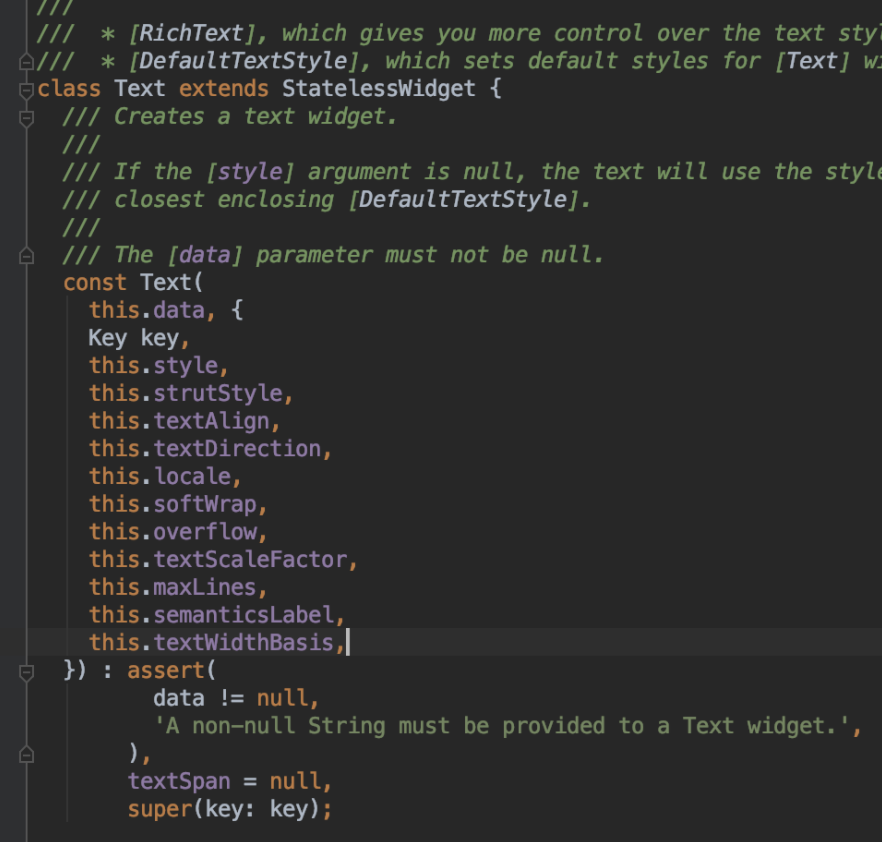
),Android Studio で Text にフォーカスさせて Text クラスの定義にジャンプしてみます。
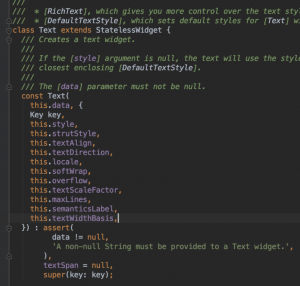
/// The [data] parameter must not be null.
  const Text(
    this.data, {
    Key key,
    this.style,
    this.strutStyle,
    this.textAlign,
    this.textDirection,
    this.locale,
    this.softWrap,
    this.overflow,
    this.textScaleFactor,
    this.maxLines,
    this.semanticsLabel,
    this.textWidthBasis,
  })
最初の引数 data が必須ということがわかります。
Text の定義についてジャンプする
次の引数である style について調べてみます。
この値はTextStyleというクラスのインスタンスを入れたらいいらしいです。
| fontSize | フォントのサイズ。double型 |
| fontWeight | フォントの太さ。FontWeight というクラスを入れる。 |
| fontFamily | フォントファミリー。 |
| fontStyle | フォントのスタイル。normal や italic という定数を指定する |
| color | テキストの色。Colorクラスで指定する |
Color のインスタンスを生成する際にはいくつかのパターンが存在する
/// 16進数指定
const Color(0xff000000)

/// A RGB 指定 (A = alpha)
const Color.fromARGB(255, 255, 0, 0)

/// RGB O 指定 (O = opacity)
Color.fromRGBO(38, 38, 38, 0.4)
この3パターンの生成方法がありました。
これらを把握すればText を生成して画面に表示できるようになると思います。
次にText を画面のどこに配置するかを指定したいことがよくあります。
iOSアプリではstoryboard や xib でごちゃごちゃとUIKit を置いていきますが、
Flutter はそんなことはしないみたいです。
ここではレイアウトを調整できるクラスを数個紹介します。
Center(
        child: ウィジェット,
      )
Center クラスに関する簡単なサンプルコードを書きます。
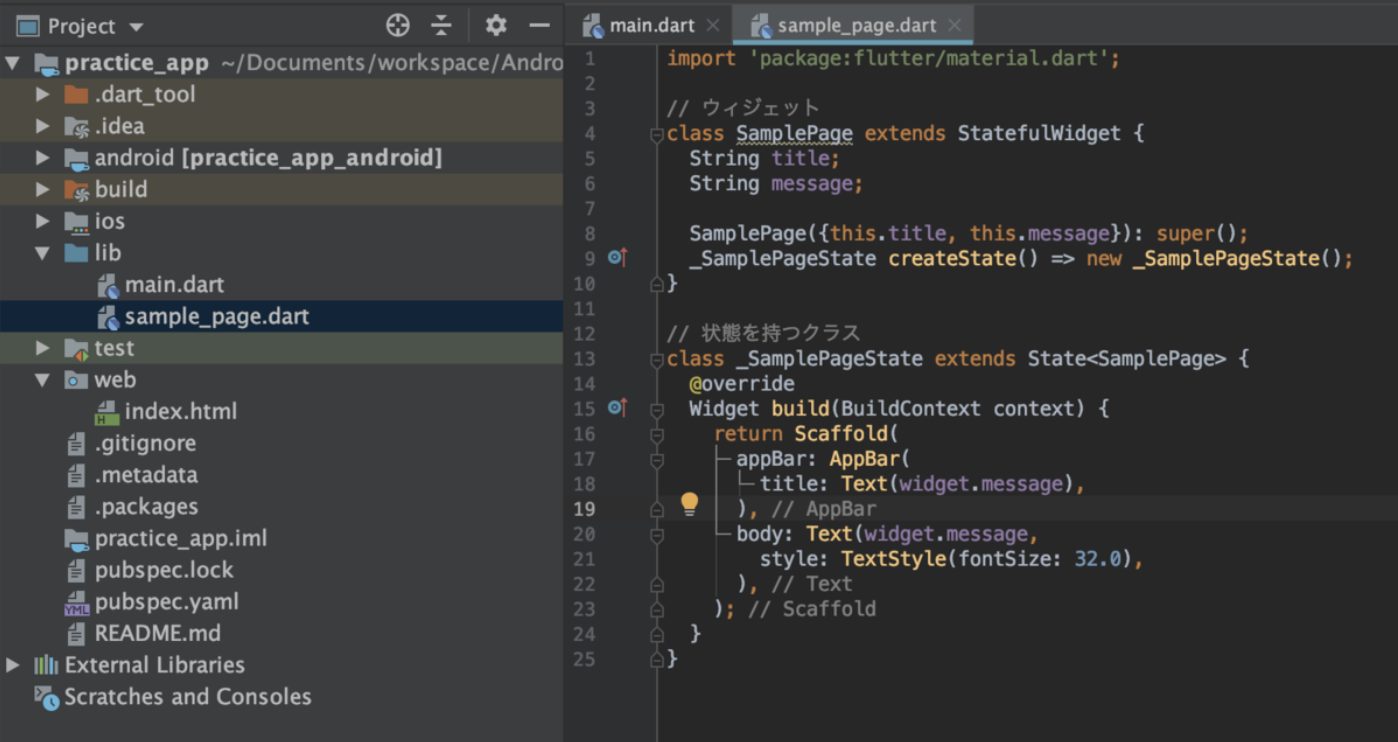
sample_page.dart
import 'package:flutter/material.dart';

// ウィジェット
class SamplePage extends StatefulWidget {
  final title;

  SamplePage({this.title}): super();
  _SamplePageState createState() => new _SamplePageState();
}

// 状態を持つクラス
class _SamplePageState extends State<SamplePage> {
  @override
  Widget build(BuildContext context) {
    return Scaffold(
      appBar: AppBar(
        title: Text('App Name'),
        ),
      body:
      Center(
        child: Text(
          "Text クラス",
          style: TextStyle(
            fontSize: 32.0,
            color: Color(0xff000000),
            fontWeight: FontWeight.w700,
            fontFamily: "Roboto"
          ),
        ),
      )
    );
  }
}
これでビルドすると「Text クラス」という文字が画面中央に表示されます。

Center クラスのサンプル例
ウィジェットの配置を制御するレイアウトでもう一つContainer クラスというものがあります。
Center クラスはレイアウトを中央に寄せるだけですが、Container クラスは左右上下という風にある程度配置を制御できます。
Container(
        child: ,
        padding: EdgeInsets,
        alignment: Alignment,
      )
Alignment については9パターンが用意されています。
| topLeft | 左上 |
| topCenter | 左中央 |
| topRight | 右上 |
| centerLeft | センター左 |
| center | 中央 |
| centerRight | センター右 |
| bottomLeft | 左下 |
| bottomCenter | 中央した |
| bottomRight | 右下 |
Alignment クラスの定義は次のようになっています。
/// The top left corner.
  static const Alignment topLeft = Alignment(-1.0, -1.0);

  /// The center point along the top edge.
  static const Alignment topCenter = Alignment(0.0, -1.0);

  /// The top right corner.
  static const Alignment topRight = Alignment(1.0, -1.0);

  /// The center point along the left edge.
  static const Alignment centerLeft = Alignment(-1.0, 0.0);

  /// The center point, both horizontally and vertically.
  static const Alignment center = Alignment(0.0, 0.0);

  /// The center point along the right edge.
  static const Alignment centerRight = Alignment(1.0, 0.0);

  /// The bottom left corner.
  static const Alignment bottomLeft = Alignment(-1.0, 1.0);

  /// The center point along the bottom edge.
  static const Alignment bottomCenter = Alignment(0.0, 1.0);

  /// The bottom right corner.
  static const Alignment bottomRight = Alignment(1.0, 1.0);
Container クラスに関する簡単なサンプルコードを書きます。
sample_page.dart
import 'package:flutter/material.dart';

// ウィジェット
class SamplePage extends StatefulWidget {
  final title;

  SamplePage({this.title}): super();
  _SamplePageState createState() => new _SamplePageState();
}

// 状態を持つクラス
class _SamplePageState extends State<SamplePage> {
  @override
  Widget build(BuildContext context) {
    return Scaffold(
      appBar: AppBar(
        title: Text('App Name'),
        ),
      body:
      Container(
        child: Text(
          "Container",
          style: TextStyle(
            fontSize: 32.0,
            color: Color(0xff000000),
            fontWeight: FontWeight.w700,
            fontFamily: "Roboto"
          ),
        ),
        padding: EdgeInsets.all(10.0),
        alignment: Alignment.bottomRight,
      )
    );
  }
}
これでビルドすると「Container クラスのサンプル例」という文字が画面下側の右に表示されます。

Container レイアウトのサンプル例
ということでウィジェットの配置の方法について学習しました