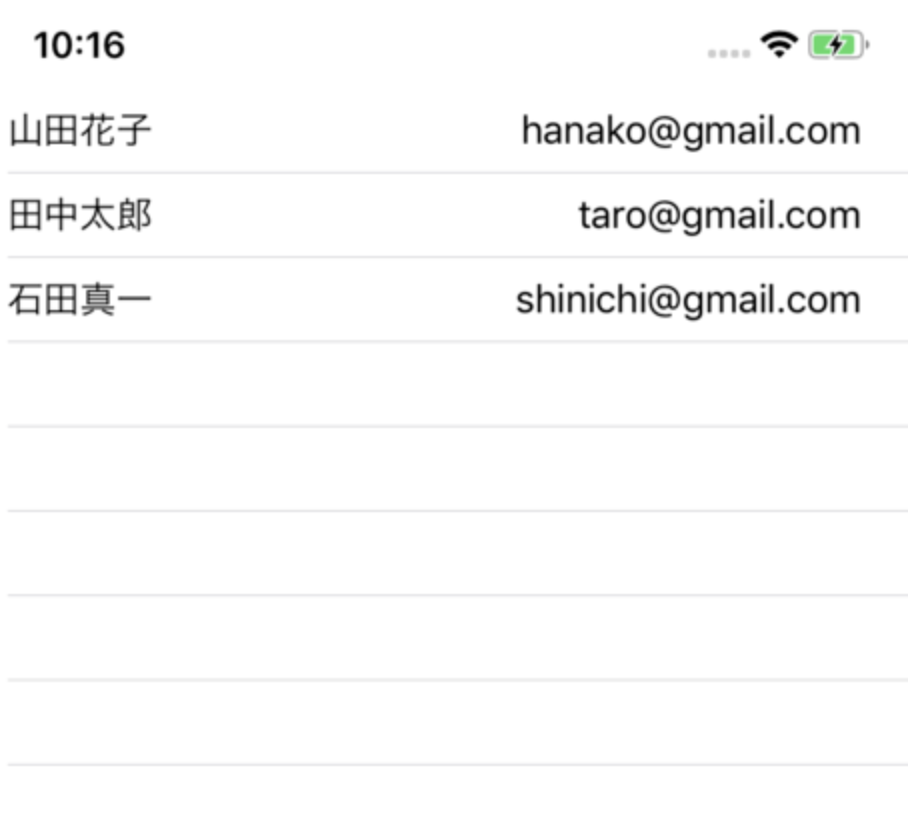
UITableViewのRxSwiftデータバインディング、カスタムなnibファイルで連携させる
tamappe Tamappe Life Log
RxSwiftを書いていて慣れてきましたので同僚にわかりやすく説明するためメモとして残してみます。
これをみてRxSwiftに苦手意識を持っているエンジニアの手助けができたらいいなと思いました。
Xcode: 10.1
Swift: 4.2
RxSwift: 4.4.0
RxCocoa: 4.4.0
pod initこれで、Podfileが作成されます。
Podfileを開いてみると、下記のようになっています。
# Uncomment the next line to define a global platform for your project
# platform :ios, '9.0'

target 'RxPractice' do
  # Comment the next line if you're not using Swift and don't want to use dynamic frameworks
  use_frameworks!

  # Pods for RxPractice

  target 'RxPracticeTests' do
    inherit! :search_paths
    # Pods for testing
  end

  target 'RxPracticeUITests' do
    inherit! :search_paths
    # Pods for testing
  end

end先ほど作成したPodfileの中にこのように編集します。
target 'RxPractice' do
  # Comment the next line if you're not using Swift and don't want to use dynamic frameworks
  use_frameworks!

  # Pods for RxPractice
    pod 'RxSwift',    '~> 4.0'  # 追加する
    pod 'RxCocoa',    '~> 4.0'  # 追加する

  target 'RxPracticeTests' do
    inherit! :search_paths
    # Pods for testing
  end

  target 'RxPracticeUITests' do
    inherit! :search_paths
    # Pods for testing
  end

endpod installこれでcocoapodのインストールが始まってRxSwiftとRxCocoaのインストールが完了します。
Analyzing dependencies
Downloading dependencies
Installing RxAtomic (4.4.0)
Installing RxCocoa (4.4.0)
Installing RxSwift (4.4.0)
Generating Pods project
Integrating client project

[!] Please close any current Xcode sessions and use `RxPractice.xcworkspace` for this project from now on.
Sending stats
Pod installation complete! There are 2 dependencies from the Podfile and 3 total pods installed.

[!] Automatically assigning platform `ios` with version `12.1` on target `RxPractice` because no platform was specified. Please specify a platform for this target in your Podfile. See `https://guides.cocoapods.org/syntax/podfile.html#platform`.ディレクトリにXXX.xcworkspaceが作成されますのでそちらを開きます。

これで基本的な設定が終わります。
RxSwiftを導入すると基本的に@IBActionが不要になるということだけ頭に入れてください。
@IBAction処理がRxになるという認識です。
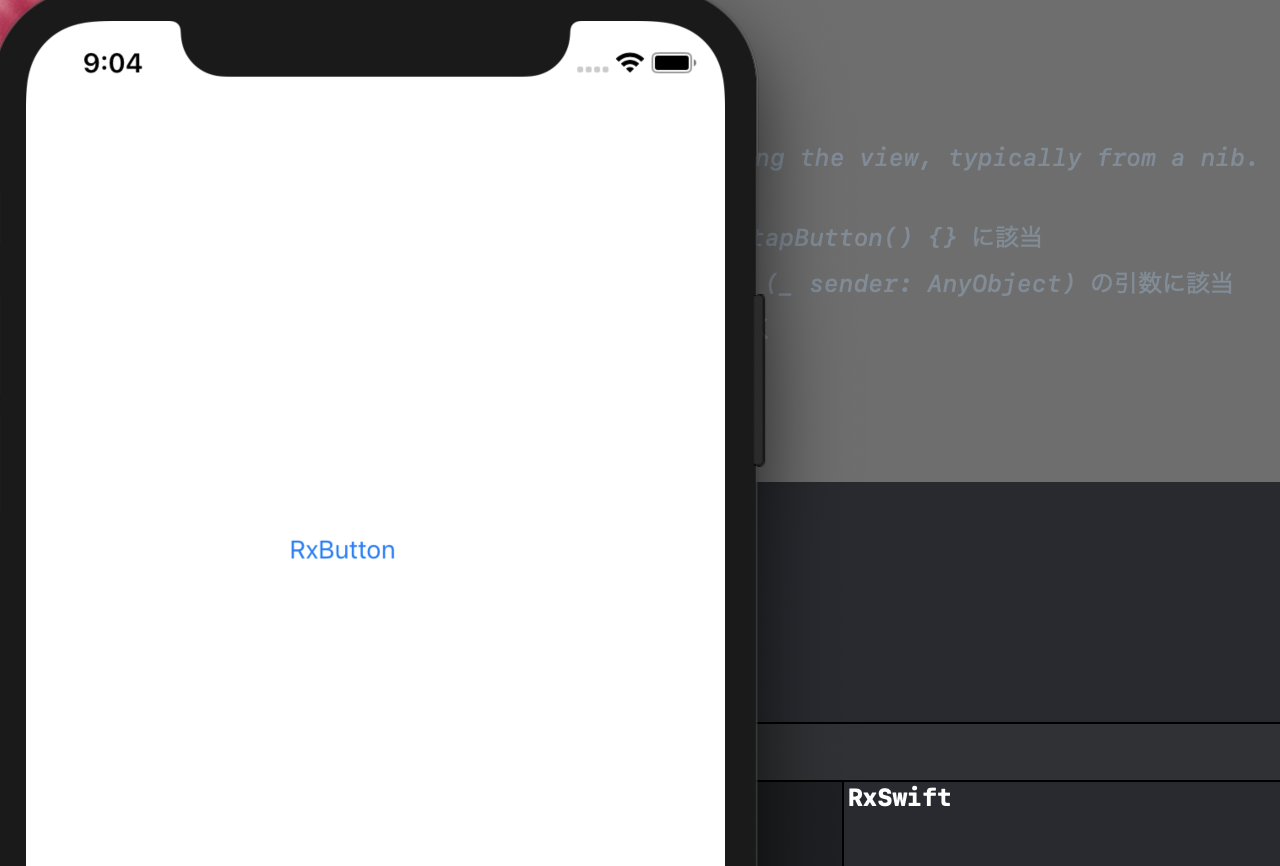
UIButtonを置くこんな流れです。
UIButtonを置く
ViewControler.swiftに下記のように編集します。
import UIKit

class ViewController: UIViewController {

    @IBOutlet weak var button: UIButton!

    override func viewDidLoad() {
        super.viewDidLoad()
        // Do any additional setup after loading the view, typically from a nib.
    }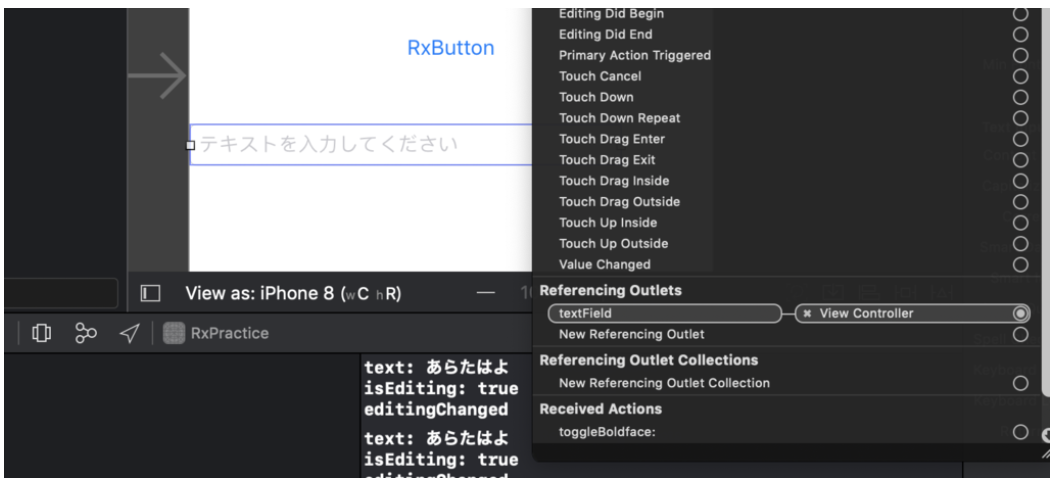
}あとはstoryboardからUIButtonを接続します。

ViewControllerにRxSwiftとRxCocoaをimportします。
import UIKit
import RxCocoa
import RxSwiftでは@IBActionの処理を実装していきます。
class ViewController: UIViewController {

    @IBOutlet weak var button: UIButton!
    var disposeBag = DisposeBag()

    override func viewDidLoad() {
        super.viewDidLoad()
        // Do any additional setup after loading the view, typically from a nib.

        button.rx.tap // tapが @IBAction func tapButton() {} に該当
            .subscribe(onNext: { _ in  // _ が (_ sender: AnyObject) の引数に該当
                // ここに@IBActionの処理を書いていく
                print("RxSwift")
            })
            .disposed(by: disposeBag)
    }
}
これでアプリをビルドしてみましょう。

ボタンをタップしてコンソールにRxSwiftとプリントされたら完成です。
まずこれが基本形だということを認識できればRxSwift事始めは完了だと思います。