RxSwiftを使って複数のUITextFieldの状態変化にバリデーションを実装する
tamappe Tamappe Life Log

今回はNotificationCenterのRxSwiftについて解説していきます。
このページをみるとNotificationCenterにはnotificationのfunctionがあることがわかります。
ということは
NotificationCenter.default.rx.notification("", object: nil)という書き方になります。こちらはnotificationの引数を省略した形になります。
わざわざなんでNotificationをRxSwiftぽく書くんだ!という意見はあると思いますが後で説明します。
では、まずはNotificationCenterの購読の基本形を書きます。
ViewController.swift
NotificationCenter.default.rx.notification(name, object: nil)
    .subscribe(onNext: { notification in
        // 処理内容
    })
    .disposed(by: disposeBag)
このようになります。
これはRxSwiftを使わないやり方だと
ViewController.swift
override func viewWillAppear(_ animated: Bool) {
        super.viewWillAppear(animated)
        // 購読の登録
        NotificationCenter.default.addObserver(self, selector: Selector(("sample:")), name: NSNotification.Name(rawValue: "SampleNotification"), object: nil)
    }

    override func viewWillDisappear(_ animated: Bool) {
        super.viewWillDisappear(animated)
        // 購読の解除
        NotificationCenter.default.removeObserver(self, name: NSNotification.Name(rawValue: "SampleNotification"), object: nil)
    }

    @objc private func sample(notification: Notification) {
        // 処理内容
    }
と同じ実装になります。
これだとRxSwiftを使った方が購読の解除のコードが要らない分、簡単に書けますね。
今回はラインだったりメッセンジャーアプリに付き物のキーボードを表示したときにLabelやTextFieldが被らないようにする実装について見ていきます。
RxSwiftを使わなくてもできるやん!というツッコミは勘弁してください。
よく使う機能をRxSwift で書くとどうなるかを学ぶ方がコードの書き方が分かると思います。
念の為、podの環境についておさらいします。
cocoapod
# Uncomment the next line to define a global platform for your project
# platform :ios, '9.0'

target 'RxSwitch' do
  # Comment the next line if you're not using Swift and don't want to use dynamic frameworks
  use_frameworks!

  # Pods for RxSwitch
    pod 'RxSwift', '~> 4.0'  # 追加する
    pod 'RxCocoa', '~> 4.0'  # 追加する

  target 'RxSwitchTests' do
    inherit! :search_paths
    # Pods for testing
  end

  target 'RxSwitchUITests' do
    inherit! :search_paths
    # Pods for testing
  end

end
このように
のみインストールします。
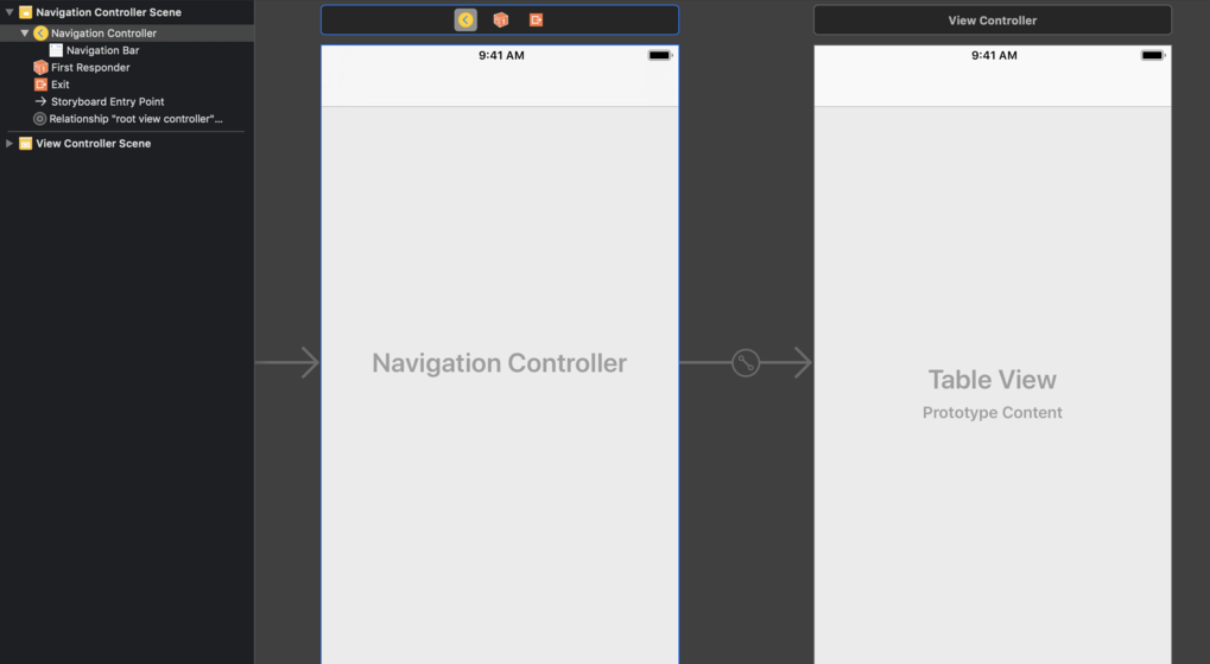
では今度はstoryboardの構成について見ていきます。

notification_rx_1
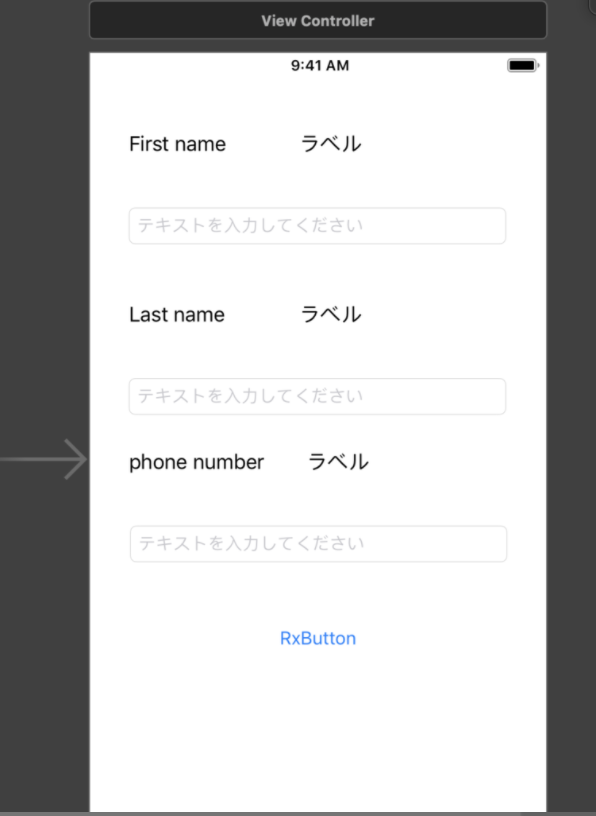
ViewControllerにはUILabelとUITextFieldのみを置きます。
UILabelは@IBOutletの接続をしておきます。

notification_rx_2
UITextFieldも同様です。

notification_rx_3
今回はキーボードとの関係性の実装でUITextFieldの制約が重要になりますのでこちらの設定だけ確認しておきます。

notification_rx_4
これで準備が完了します。
今回はキーボードの対応ということもありますので少しコードが多くなります。
本当はもっと簡単な機能が具体例にいいのですが、今時のiOS開発でNotificationが必要になる箇所はプッシュ通知だったりキーボード対応だったりします。
ですので今回でまとめて解説します。
ViewController.swift
import UIKit
import RxCocoa
import RxSwift

class ViewController: UIViewController {

    @IBOutlet weak var label: UILabel!
    @IBOutlet weak var textField: UITextField!

    private let disposeBag = DisposeBag()

    override func viewDidLoad() {
        super.viewDidLoad()

        // UITextField とUILabelのtextのデータを紐づける
        textField.rx.text
            .bind(to: label.rx.text)
            .disposed(by: disposeBag)

        // キーボードが表示される時のNotificationを登録する
        NotificationCenter.default.rx.notification(UIResponder.keyboardWillShowNotification, object: nil)
        .subscribe({ notification in
            if let element = notification.element {
                self.keyboardWillShow(element)
            }
        })
        .disposed(by: disposeBag)

        // キーボードが消える時のNotificationを登録する
        NotificationCenter.default.rx.notification(UIResponder.keyboardWillHideNotification, object: nil)
            .subscribe({ notification in
                if let element = notification.element {
                    self.keyboardWillHide(element)
                }
            })
            .disposed(by: disposeBag)
    }

    /// キーボードが表示時に画面をずらす。
    private func keyboardWillShow(_ notification: Notification) {
        guard let rect = (notification.userInfo?[UIResponder.keyboardFrameBeginUserInfoKey] as? NSValue)?.cgRectValue,
            let duration = notification.userInfo?[UIResponder.keyboardAnimationDurationUserInfoKey] as? TimeInterval else { return }
        UIView.animate(withDuration: duration) {
            let transform = CGAffineTransform(translationX: 0, y: -(rect.size.height))
            self.view.transform = transform
        }
        print("keyboardWillShowを実行")
    }

    /// キーボードが降りたら画面を戻す
    private func keyboardWillHide(_ notification: Notification) {
        guard let duration = notification.userInfo?[UIResponder.keyboardAnimationCurveUserInfoKey] as? TimeInterval else { return }
        UIView.animate(withDuration: duration) {
            self.view.transform = CGAffineTransform.identity
        }
        print("keyboardWillHideを実行")
    }
}
このようになります。
これで実機でビルドしてみてUITextFieldをタップしてみましょう。
無事にキーボードが表示されてUITextFieldが被らないことが確認できたら成功です。