20. Flutter公式のプラグインを使ってWebViewを表示させる
tamappe Tamappe Life Log

Flutte でiOSのダークモードを設定するする方法が分からなかったので備忘録として残しておきます。
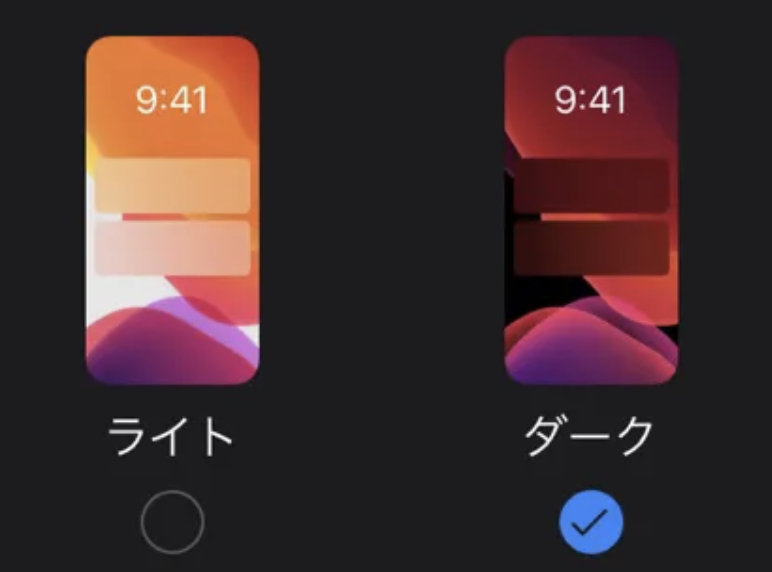
尚、iOのシミュレータで試したい場合は設定アプリ上から
「Developer」 < 「Dark Appearance」
でスイッチを切り替えを行うと変わります。

設定アプリ
| デフォルト | ダークモード |
|---|---|
 |  |
void main() => runApp(MyApp());

class MyApp extends StatelessWidget {
  @override
  Widget build(BuildContext context) {
    return MaterialApp(
      theme: ThemeData(
          primaryColor: Colors.white,
          primaryColorBrightness: Brightness.light,
          brightness: Brightness.light,
          primaryColorDark: Colors.black,
          canvasColor: Colors.white,
          // next line is important!
          appBarTheme: AppBarTheme(brightness: Brightness.light)),
      darkTheme: ThemeData(
          primaryColor: Colors.black,
          primaryColorBrightness: Brightness.dark,
          primaryColorLight: Colors.black,
          brightness: Brightness.dark,
          primaryColorDark: Colors.black,
          indicatorColor: Colors.white,
          canvasColor: Colors.black,
          // next line is important!
          appBarTheme: AppBarTheme(brightness: Brightness.dark)),
      title: 'ダークモードのアプリ',
      home: HomePage(title: '見つける'),
    );
  }
}
参考
また、片方のテーマだけで良い場合は MaterialApp の themeMode を指定すればライトモードかダークモードに指定できます。
class MyApp extends StatelessWidget {
  // This widget is the root of your application.
  @override
  Widget build(BuildContext context) {
    return MaterialApp(
      /// ライトモード
      themeMode: ThemeMode.light,
      title: 'Apple Music Clone',
      home: HomePage(title: '見つける'),
    );
  }
}
class MyApp extends StatelessWidget {
// This widget is the root of your application.
@override
Widget build(BuildContext context) {
return MaterialApp(
/// ダークモード
themeMode: ThemeMode.dark,
title: 'Apple Music Clone',
home: HomePage(title: '見つける'),
);
}
}それでは、バイバイ。