PythonでFireStoreにデータを保存するスクリプトをまとめてみた
tamappe Tamappe Life Log
こんにちは、Tamappeです。
今回はFlutterとFirestoreを連携させたiOSアプリの設定について解説していきます。
とは言っても前回のAndroid側の設定が完了していたらiOSでの設定はすぐに終わってしまいます。
FlutterでFirestoreと連携したAndroidアプリを作る
残りの作業としては
の作業だけになります。
それではそれぞれやっていきましょう。
Firebaseのコンソールのページに移動します。
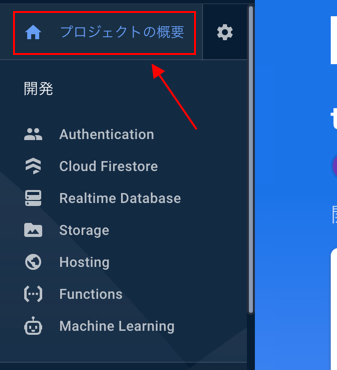
左のメニューから「プロジェクトの概要」を選択します。
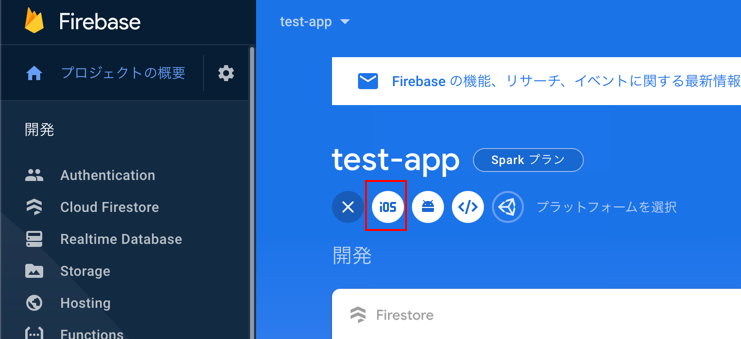
右側のページから「iOS」を選択します。
Bundle Idの登録ページが表示されます。一旦、ここで作業が止まります。
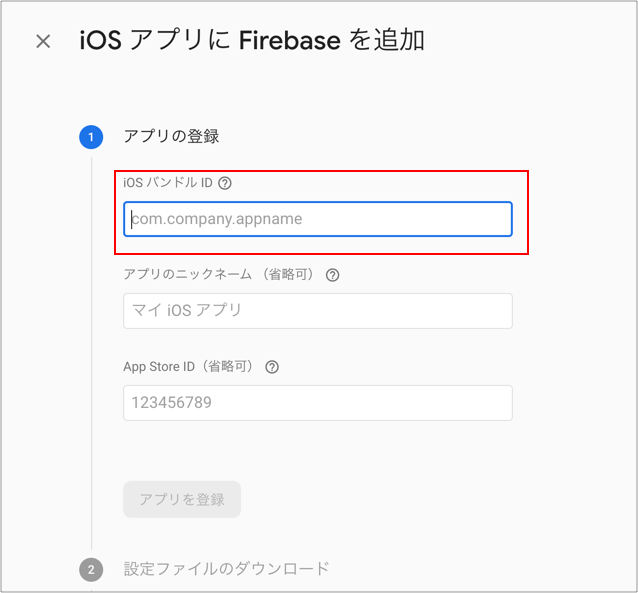
iOS バンドルIDとはアプリを識別するためのIDでiOSアプリエンジニアではお馴染みのBundleIDを記入します。
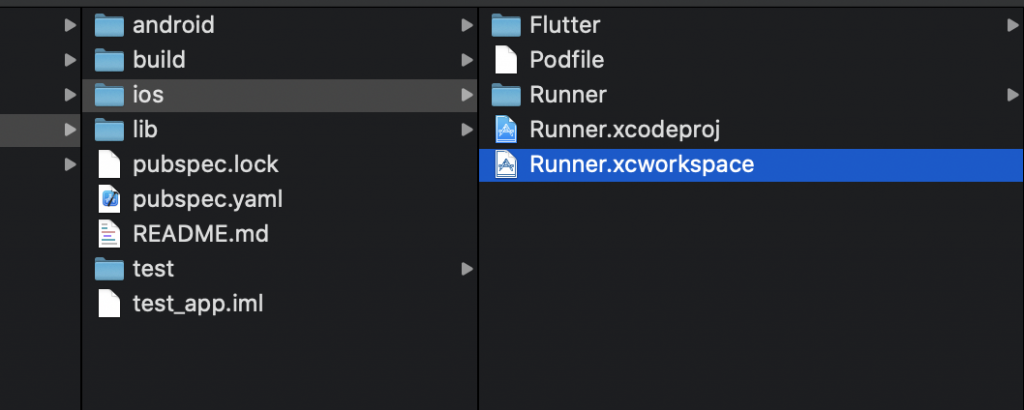
FlutterでのBundleIDは「プロジェクトのルート/ios/Runner.xcworkspace」を開いた先にあります。
これを開いた先の「」がBundl IDになります。
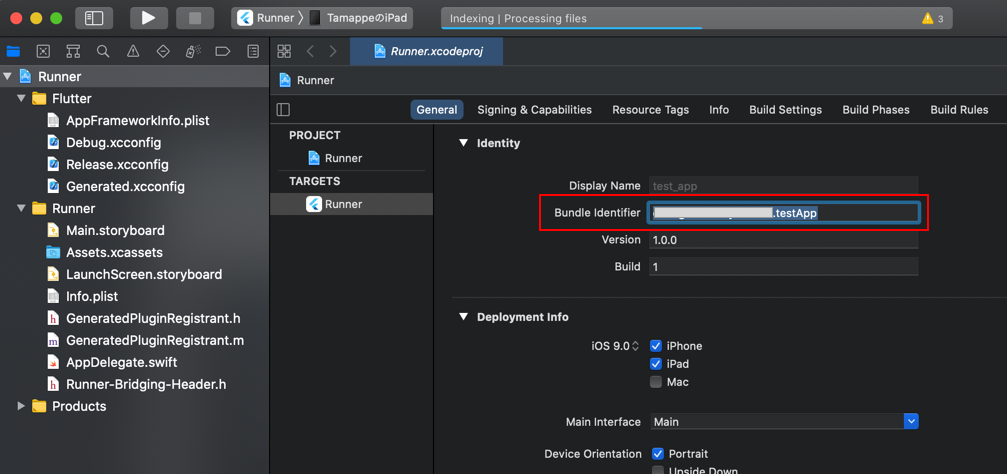
これをコピーして先程のFirebaseの設定画面の「アプリのバンドルID」に記入します。

「アプリのニックネーム」や「App Store ID」は省略可と記載されているので今回は省略します。
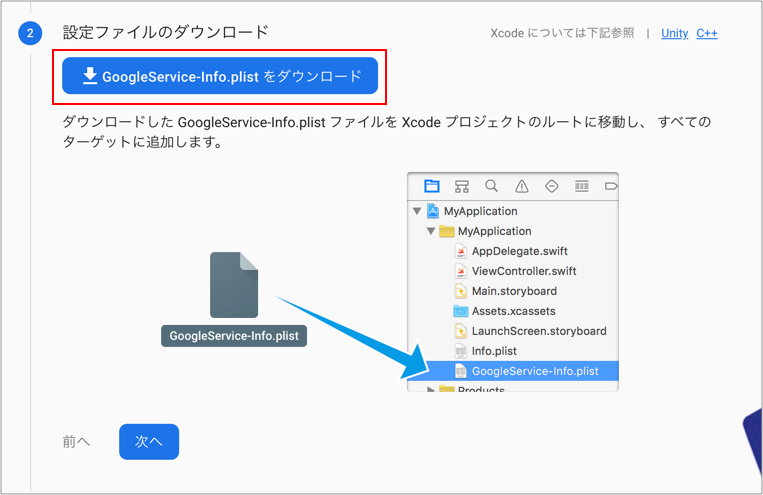
次のページで「GoogleService-info.plist」をダウンロードして「次へ」をクリックします。
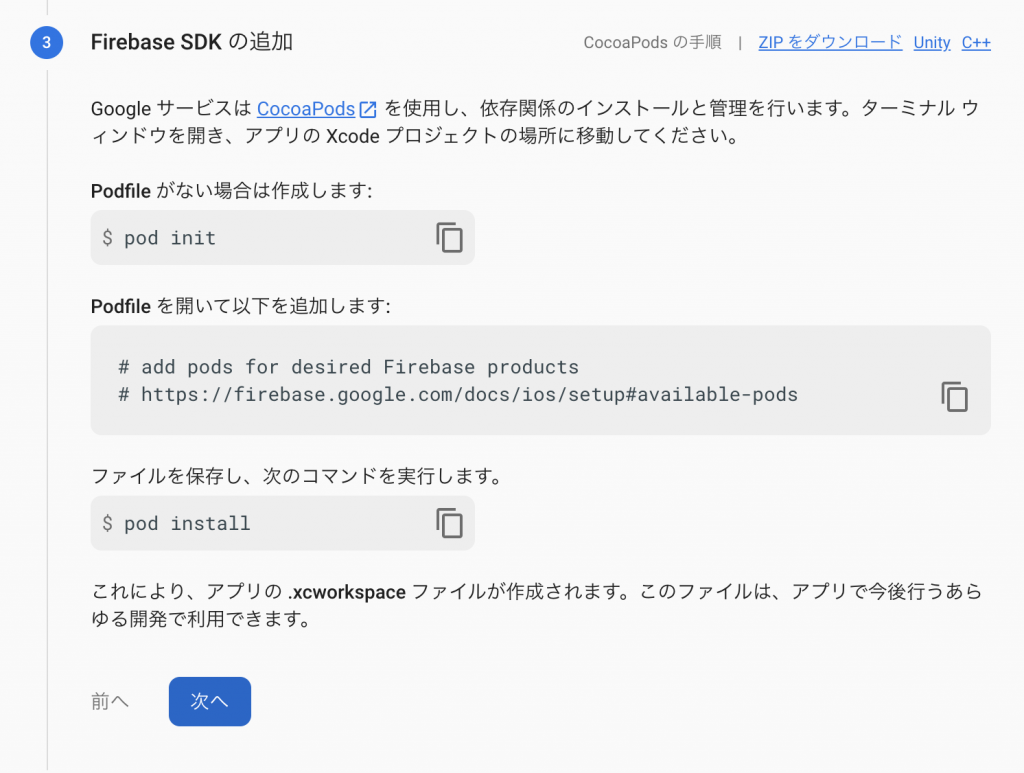
次のページはpodの設定になりますが、FlutterはiOSのビルドが成功すると自動でpod installなどをしてくれますので特段podの設定をする必要がないようにしてくれています。
何もせずに「次へ」をクリックします。
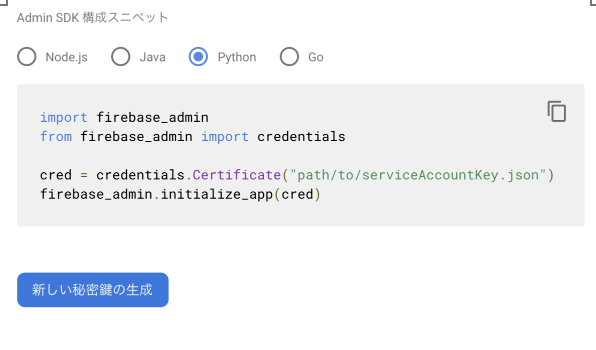
次は初期コードの追加とありますが、何もする必要がなく「次へ」をクリックすればよいです。
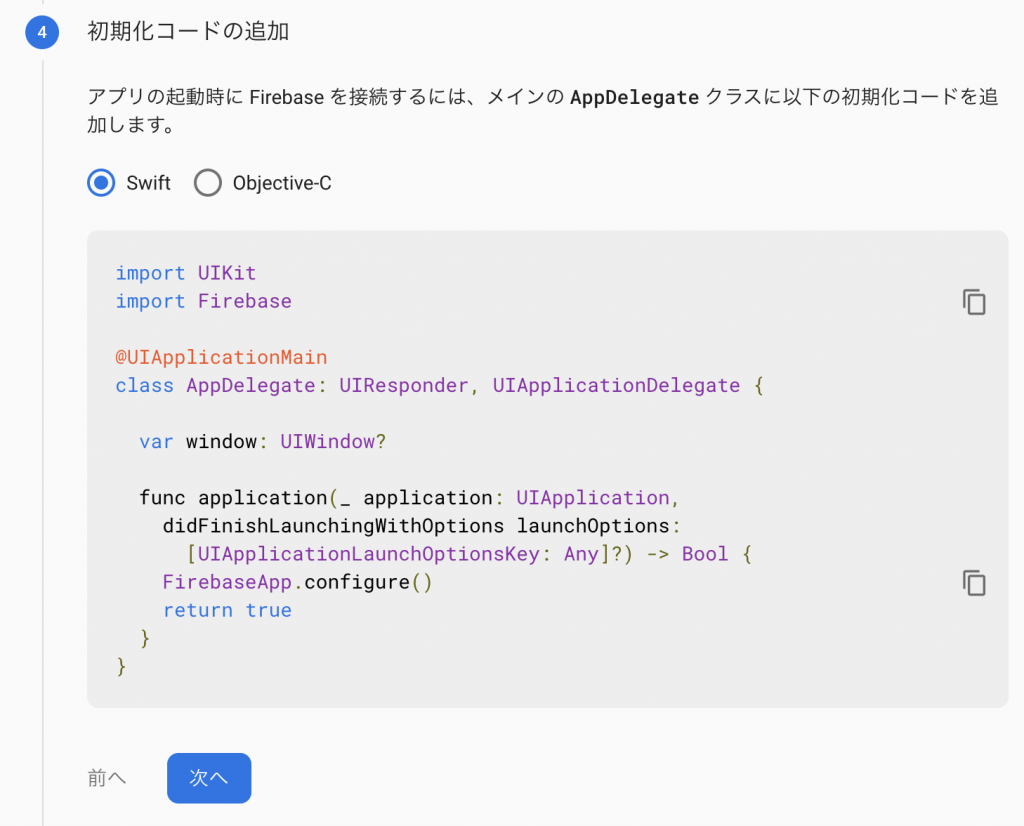
基本bundle idと「GoogleService-info.plist」のダウンロードする以外は何もせずにクリックしていけばいいみたいです。そして、これでアプリの設定が完了します。
次はxcode側の設定を行いますので、「プロジェクトのルート/ios/Runner.xcworkspace」を開きます。
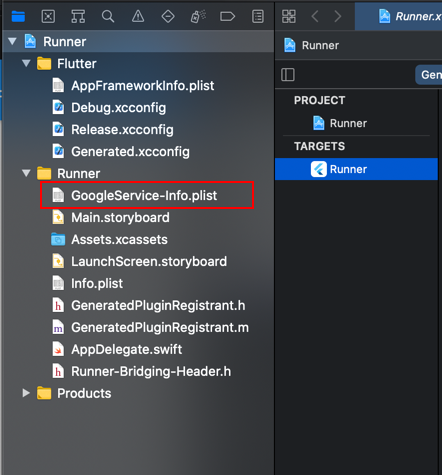
次に「プロジェクトのルート/ios/Runner.xcworkspace」に「GoogleService-Info.plist」の追加をします。
これは特段難しいことはなく、プロジェクトファイルを開いて「Runner」階層にこのファイルをインポートすればいいだけです。
これで基本的な設定が完了になります。
それでは、試しにFlutter x Firestore による簡単なiOSアプリを作ってみます。
main.dart
import 'package:flutter/material.dart';
import 'package:cloud_firestore/cloud_firestore.dart';
void main() {
runApp(MaterialApp(
title: 'Todo App',
theme: ThemeData(
primarySwatch: Colors.blue,
),
home: MyHomePage(),
));
}
class MyHomePage extends StatefulWidget {
@override
_MyHomePageState createState() => _MyHomePageState();
}
class _MyHomePageState extends State<MyHomePage> {
String input = '';
@override
void initState() {
super.initState();
}
@override
Widget build(BuildContext context) {
return Scaffold(
appBar: AppBar(
title: Text('Todo App'),
),
floatingActionButton: FloatingActionButton(
onPressed: () {
showDialog(
context: context,
builder: (BuildContext context) {
return AlertDialog(
title: Text('メッセージ'),
content: TextField(
onChanged: (String value) {
input = value;
},
),
actions: [
TextButton(
onPressed: () {
_createTodos();
Navigator.of(context).pop();
},
child: Text('追加する'))
],
);
});
},
child: Icon(
Icons.add,
color: Colors.white,
),
),
body: StreamBuilder(
stream: Firestore.instance.collection('todos').snapshots(),
builder: (context, snapshots) {
return ListView.builder(
itemCount: snapshots.data.documents.length,
itemBuilder: (BuildContext context, int index) {
DocumentSnapshot documentSnapshot = snapshots.data.documents[index];
return Dismissible(
key: Key(index.toString()),
child: Card(
child: ListTile(
title: Text(documentSnapshot.data['todoTitle']),
),
),
);
});
}),
);
}
_createTodos() {
// DocumentReference documentReference = Firestore.instance.collection('todos').document(input);
// Map<String, String> todos = {
// "todoTitle": input
// };
//
// documentReference.setData(todos).whenComplete(() => {
// print('created')
// });
CollectionReference todos = Firestore.instance.collection('todos');
todos
.add({
'todoTitle': input,
})
.then((value) => print("Todo Added"))
.catchError((error) => print("Failed to add todo: $error"));
}
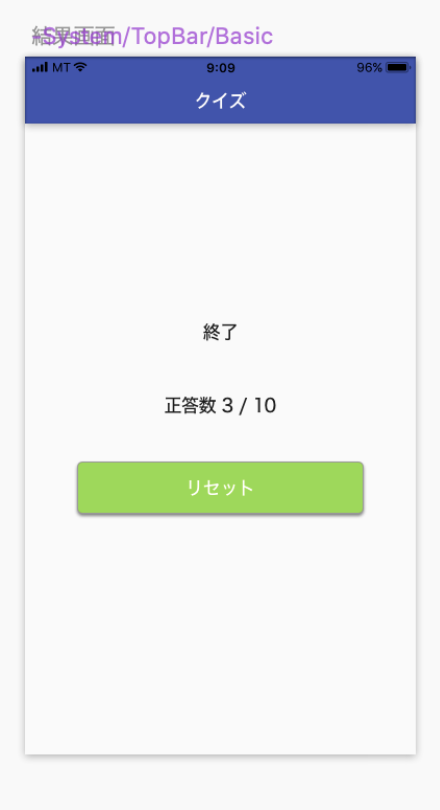
}これでソースコードをビルドするとデータが空の場合には真っ白でデータが入っていれば、リストでデータが表示されます。