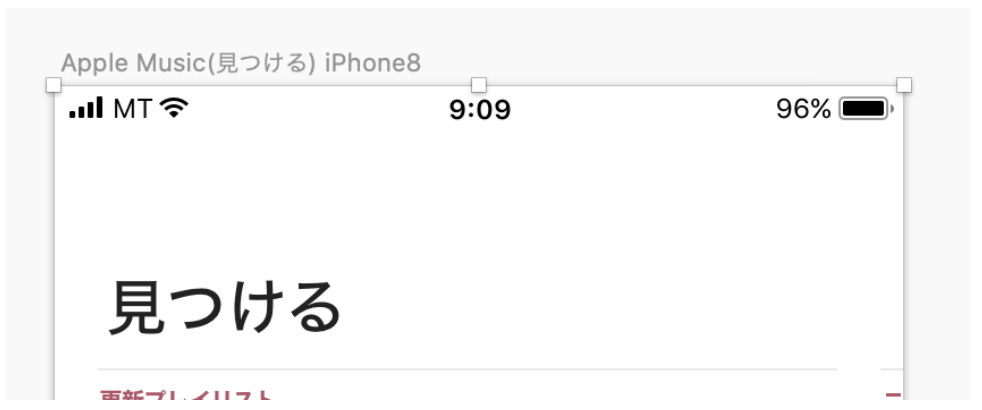
38.【AppleMusicクローン】SliverAppBarとSliverListでヘッダーの伸び縮みを再現する
tamappe Tamappe Life Log

基本は公式のインストールページを見ながら作業しましょう。
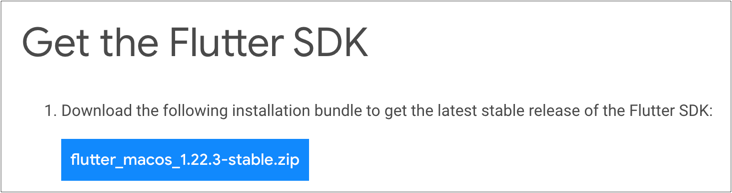
画像の青いボタンをクリックしてダウンロードします。
次にターミナルを起動して次のコマンドを叩いてHOMEディレクトリに移動します。思考停止して次のコマンドを叩きます。
cd ~/development
unzip ~/Downloads/flutter_macos_1.22.3-stable.zip
2行目のDownloads/xxxxのxxxの部分はダウンロードしたzipファイルを指定しましょう。
するとfinderから自分のディレクトリに移動するとdevelopmentフォルダまで移動するとflutterのディレクトリが存在することがわかります。

次にパスを通すという作業をします。
思考停止して次のコマンドを叩いて、bash_profileを開きます。
vi ~/.bash_profile私の場合、色々書いていますが、大事なのは赤枠で囲った部分を挿入することです。
export PATH="$PATH:$HOME/development/flutter/bin"「i」を叩いて挿入モードに切り替えてコピーペーストします。
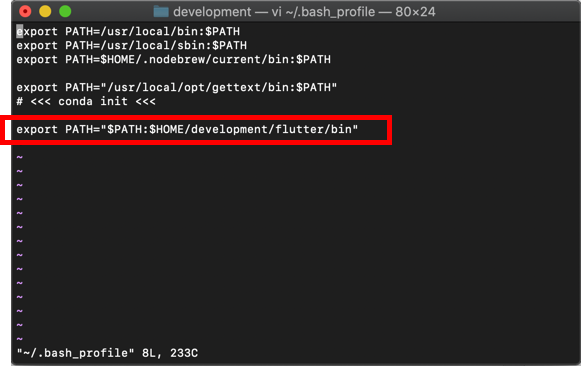
挿入が完了したら「esc」キーを叩いて、「:wq」で上書き保存します。
このあと、次のコマンドを叩いて読み込み反映させます。
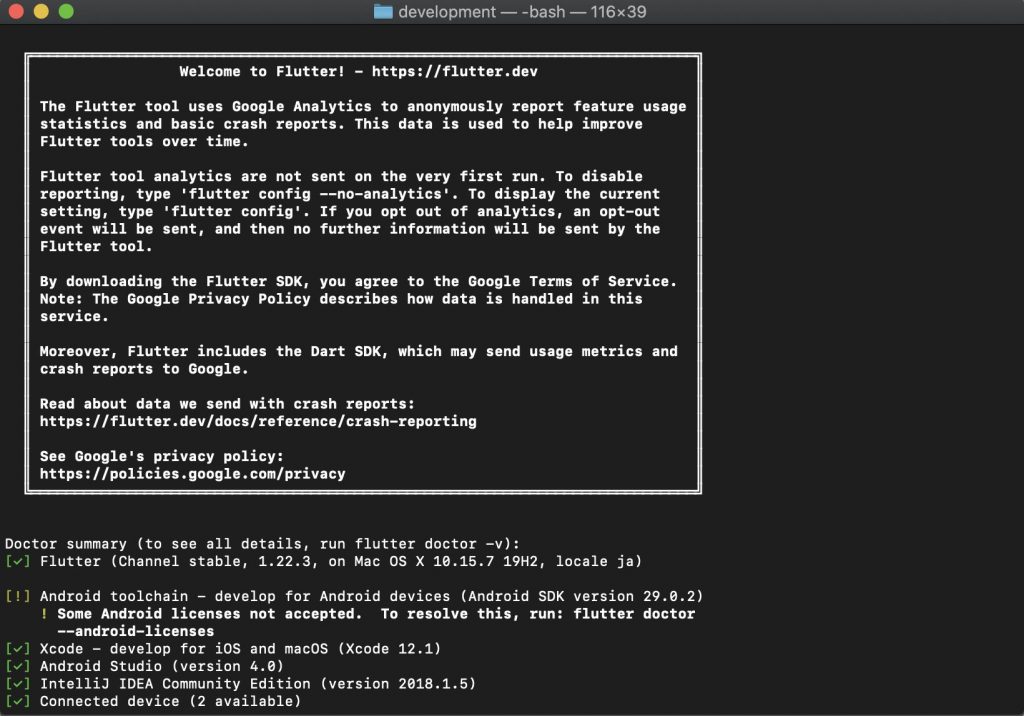
source ~/.bash_profileちゃんと反映されているかどうか、次のコマンドを叩いて見ます。
flutter doctorこんな感じのものが表示されたら成功です。
Android Studio側の設定を行う
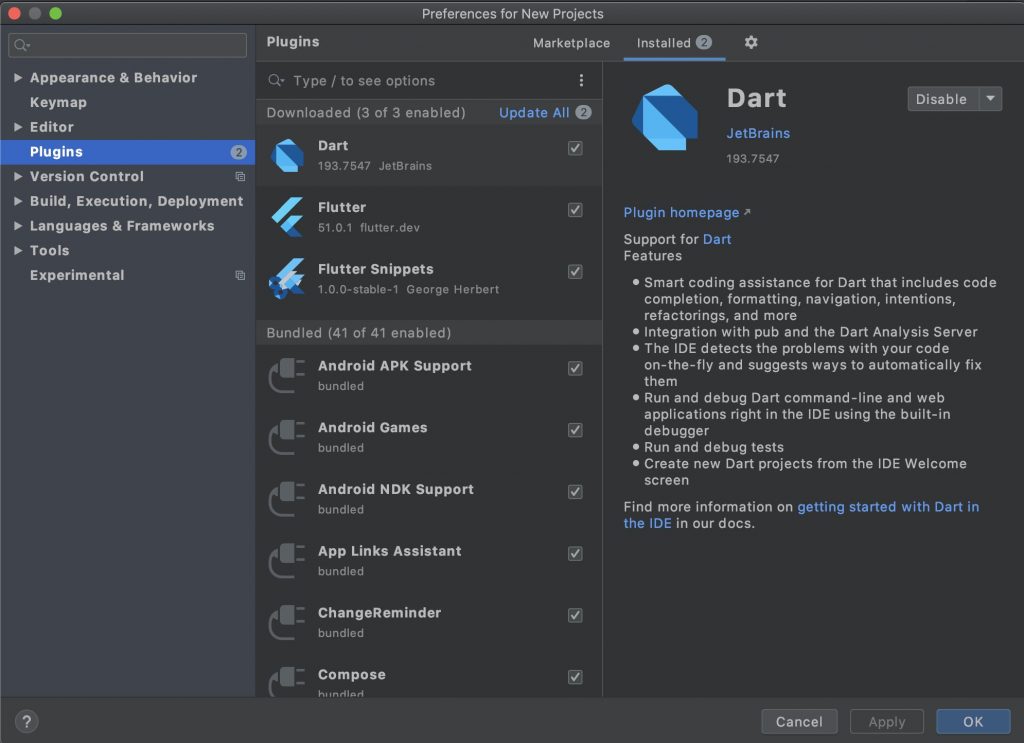
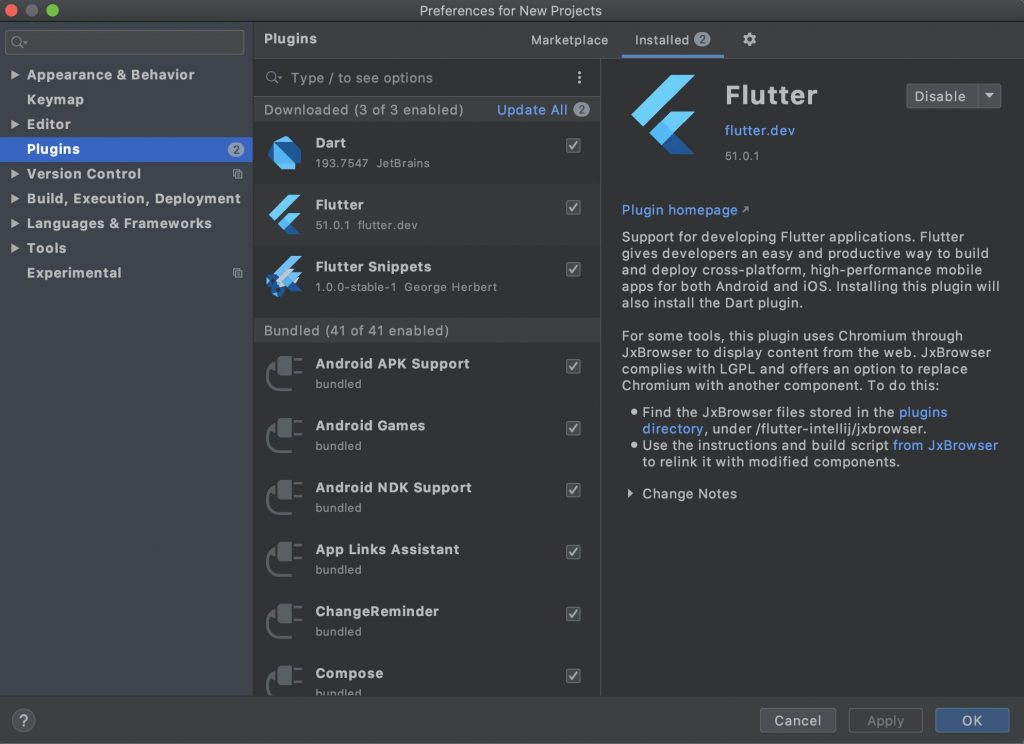
次にAndroid StudioのFlutterの設定を行います。Configureから「Preferences」と「Plugins」のどちらでもいいですが、今回は「Preferences」を開きます。
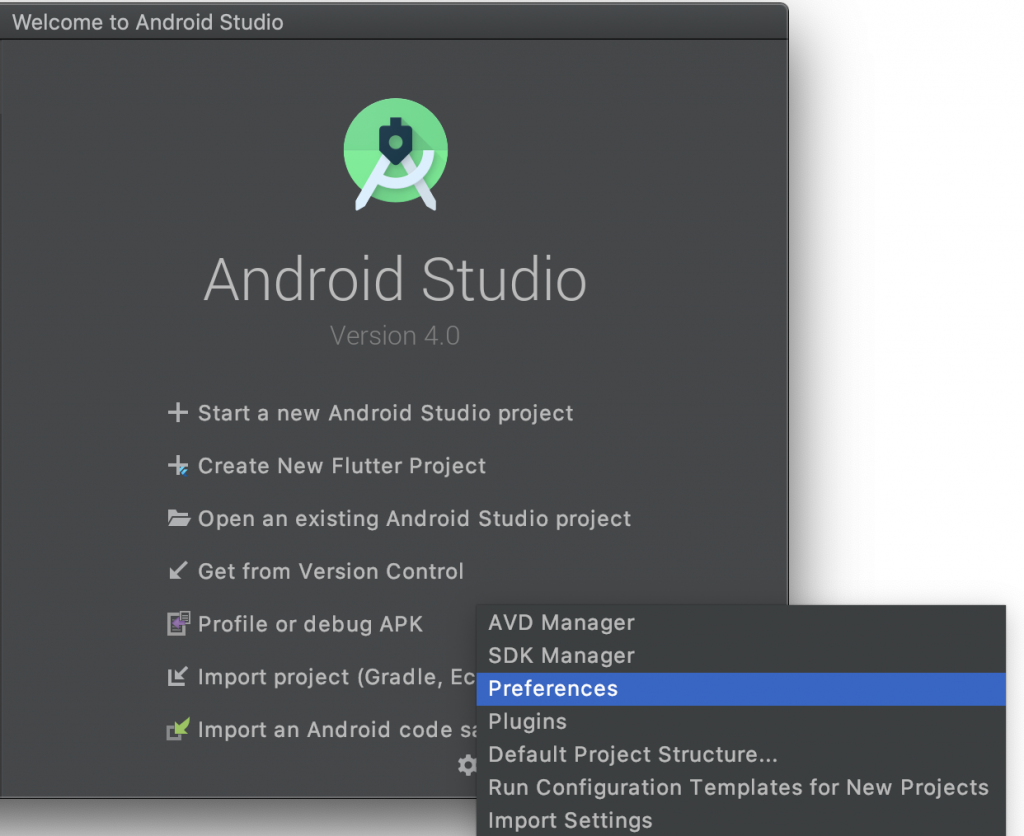
PreferencesからDartとFlutterの2つのプラグインをインストールします。
インストールが完了したら「Restart」で再起動を書けます。
これでメニューに「Create New Flutter Project」が追加されるはずです。
これでFlutterのインストールが完了します。