53. FlutterのinitialRouteで画面遷移をさせてみる
tamappe Tamappe Life Log
今回は選択肢のボタンのデザインを綺麗にしていきます。
それとボタンをタップしたときの処理も書いていきます。
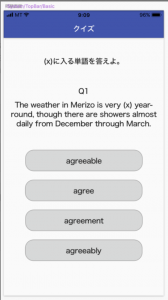
想定しているデザイン
まずはRaisedButtonに角丸を実装します。
過去記事に角丸を実装する方法について書いていますので復習します。
ClipRRectを使ってborderRadiusプロパティで角丸の度合いを調整します。
ClipRRect(
      borderRadius: BorderRadius.circular(Constants().answerButtonHeight / 2),
      child: SizedBox(
          width: double.infinity,
          height: Constants().answerButtonHeight,
          child: RaisedButton(
            child: Text(questions[questionIndex][keyString]),
            onPressed: null,
          )
      ),
)値のConstants()は定数クラスから参照しています。
constants.dart
class Constants {
  /// 問題文ウィジェットの高さ
  final double questionAreaHeight = 70.0;
  /// 回答の選択肢ボタンの高さ
  final double answerButtonHeight = 50.0;
}
ボタンの高さが50なので、半分の25を指定すればきれいな角丸が完成します。
次にRaisedButtonに色をつけます。
Sketchのデザインの指定色は#D6D7D7なので16進数で指定します。
FlutterのColorクラスには16進数で指定できます。
const color = const Color(0xffD6D7D7)0xffは意味合いは違いますが#と同じものと思っていいでしょう。
Color(0xff[16進数])で16進数の色を反映できます。
ですが、実際のプロジェクトでその都度0xffを書くのは煩わしいと思います。
なので、何かしら簡略化する方法はないものかを調査してみたらさすがに議論されていました。
こちらのところから
class HexColor extends Color {
  static int _getColorFromHex(String hexColor) {
    hexColor = hexColor.toUpperCase().replaceAll("#", "");
    if (hexColor.length == 6) {
      hexColor = "FF" + hexColor;
    }
    return int.parse(hexColor, radix: 16);
  }

  HexColor(final String hexColor) : super(_getColorFromHex(hexColor));
}
を拝借します。
新しいファイルhex_color.dartを追加して下記のコードを書きます。
hex_color.dart
import 'package:flutter/material.dart';

class HexColor extends Color {
  static int _getColorFromHex(String hexColor) {
    hexColor = hexColor.toUpperCase().replaceAll("#", "");
    if (hexColor.length == 6) {
      hexColor = "FF" + hexColor;
    }
    return int.parse(hexColor, radix: 16);
  }

  HexColor(final String hexColor) : super(_getColorFromHex(hexColor));
}
これを使うことで
HexColor('#D6D7D7')と書けるようになります。
そして、最後にRaisedButtonのタップイベントの処理を実装します。
ボタンタップしたら問題のindexを+1にして画面を更新させればいいわけですね。
main.dartにその更新の処理を記載します。
void _answerQuestion() {
    setState(() {
      _questionIndex++;
    });
}まだproviderと言った高等技術は使えませんのでsetState()を呼ぶことで画面を更新させることにします。
あとはこの_answerQuestionをボタンの引数で渡してやればいいでしょう。
最終的にanswer_button.dartを次のように書き直します。
answer_button.dart
import 'package:flutter/material.dart';
import 'package:flutter_quiz_app/utils/hex_color.dart';
import '../utils/constants.dart';

class AnswerButton extends StatelessWidget {
  final int questionIndex;
  final List<Map<String, Object>> questions;
  final Function answerQuestion;
  final String keyString;

  AnswerButton(
      {this.questionIndex,
      this.questions,
      this.answerQuestion,
      this.keyString});

  @override
  Widget build(BuildContext context) {
    return ClipRRect(
      borderRadius: BorderRadius.circular(Constants().answerButtonHeight / 2),
      child: SizedBox(
          width: double.infinity,
          height: Constants().answerButtonHeight,
          child: RaisedButton(
            color: HexColor('#D6D7D7'),
            child: Text(questions[questionIndex][keyString]),
            onPressed: answerQuestion,
          )
      ),
    );
  }
}
final Function answerQuestion;という関数型のプロパティを用意してonPressedに代入します。
あとはmain.dartで実装した_answerQuestionをRaisedButtonのanswerQuestionに渡してやればOKです。
結果的にmain.dartは次のように変更されます。
main.dart
import 'package:flutter/material.dart';
import './utils/constants.dart';
import './widget/answer_button.dart';
import './widget/question_view.dart';
void main() => runApp(MyApp());
class MyApp extends StatelessWidget {
// This widget is the root of your application.
@override
Widget build(BuildContext context) {
return MaterialApp(
theme: ThemeData(
primarySwatch: Colors.blue,
),
home: MyHomePage(),
);
}
}
class MyHomePage extends StatefulWidget {
@override
_MyHomePageState createState() => _MyHomePageState();
}
class _MyHomePageState extends State<MyHomePage> {
/// 問題文のindex
var _questionIndex = 0;
var _questions = [
{
'question':
'The weather in Merizo is very (x) year-round, though there are showers almost daily from December through March.',
'a': 'agreeable',
'b': 'agree',
'c': 'agreement',
'd': 'agreeably',
'correctAnswer': 'A'
},
{
'question':
'(x) for the competition should be submitted by November 28 at the latest.',
'a': 'Enter',
'b': 'Entered',
'c': 'Entering',
'd': 'Entries',
'correctAnswer': 'D'
}
];
void _answerQuestion() {
setState(() {
_questionIndex++;
});
}
@override
Widget build(BuildContext context) {
return Scaffold(
appBar: AppBar(
title: Text('文法問題'),
),
body: Center(
child: Column(
mainAxisAlignment: MainAxisAlignment.start,
children: [
Container(
height: Constants().questionAreaHeight,
color: Colors.red,
child: Center(
child: Text(
'(x)に入る単語を答えよ。',
style: TextStyle(fontSize: 20),
),
),
),
Container(
height: Constants().questionAreaHeight,
color: Colors.green,
child: Center(
child: Text(
'Q${_questionIndex + 1}',
style: TextStyle(fontSize: 18),
),
),
),
QuestionView(questionIndex: _questionIndex, questions: _questions),
Expanded(
child: Padding(
padding: const EdgeInsets.fromLTRB(50.0, 30.0, 50.0, 50.0),
child: Column(
mainAxisAlignment: MainAxisAlignment.spaceEvenly,
children: [
AnswerButton(
questions: _questions,
questionIndex: _questionIndex,
answerQuestion: _answerQuestion,
keyString: 'a'),
AnswerButton(
questions: _questions,
questionIndex: _questionIndex,
answerQuestion: _answerQuestion,
keyString: 'b'),
AnswerButton(
questions: _questions,
questionIndex: _questionIndex,
answerQuestion: _answerQuestion,
keyString: 'c'),
AnswerButton(
questions: _questions,
questionIndex: _questionIndex,
answerQuestion: _answerQuestion,
keyString: 'd'),
],
),
),
)
],
),
),
);
}
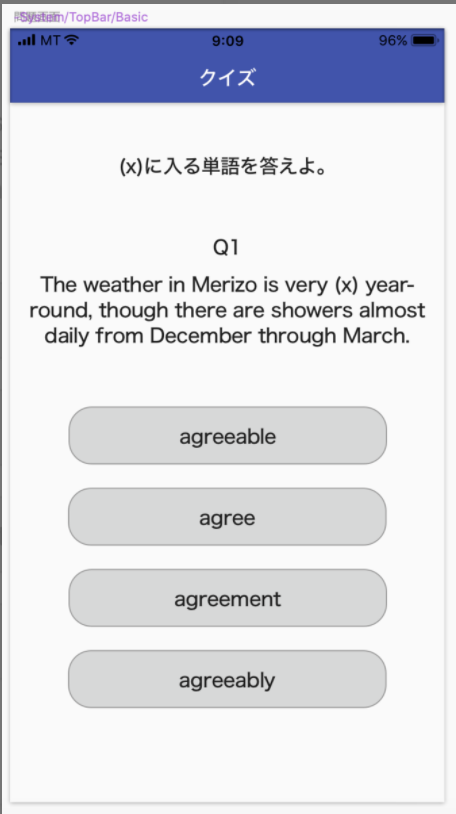
}これでビルドすると選択肢のボタンのデザインが角丸に変わっているはずです。
またボタンをタップすると次の問題に切り替わります。
| 問題1 | 問題2 |
|---|---|
 |  |
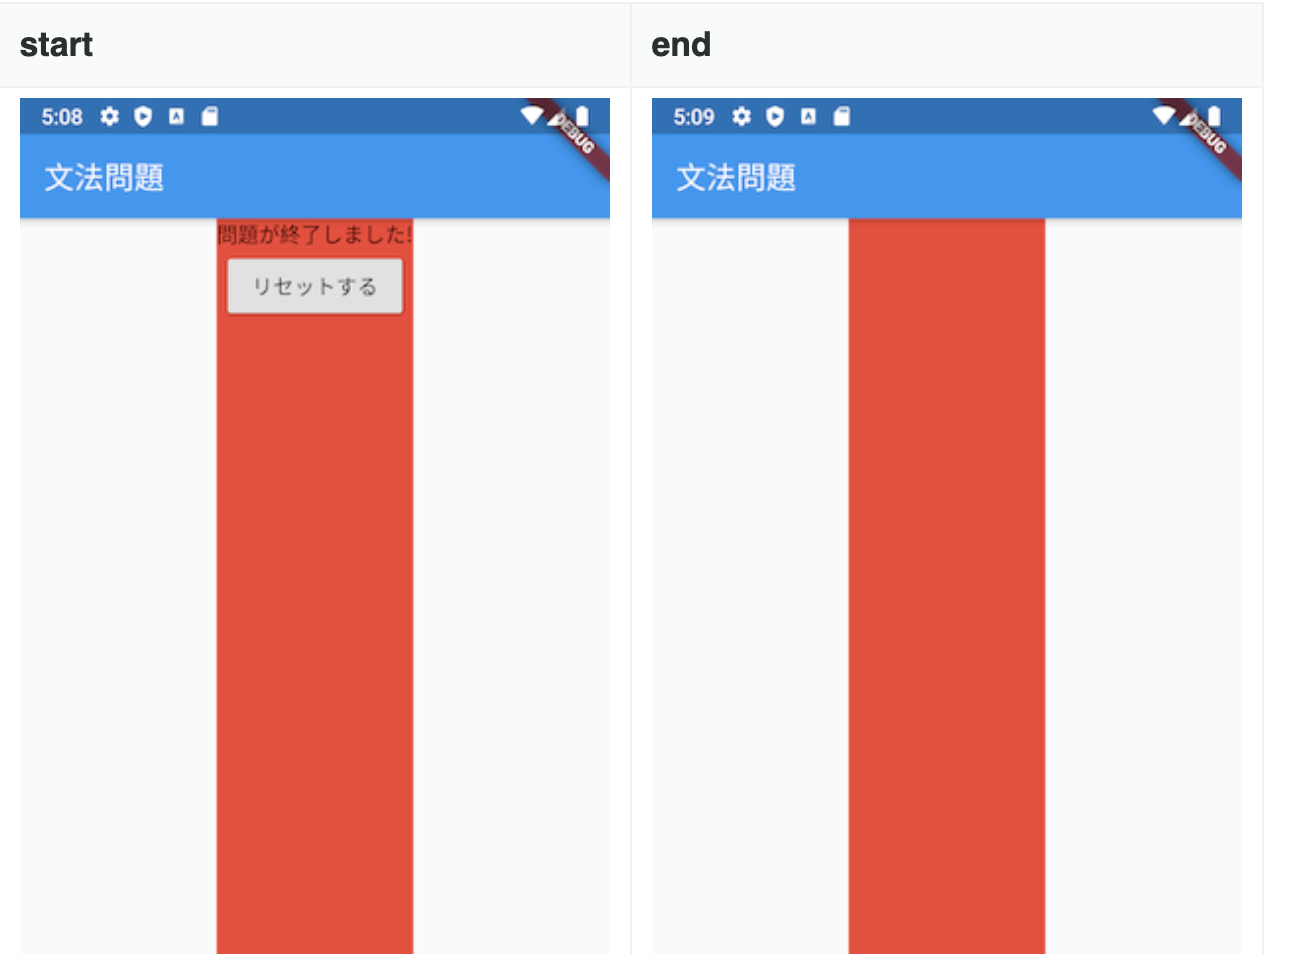
ですが、問題3以降がありませんので選択肢のボタンを3回押すとエラー画面が発生します。

エラー画面
簡単いえば、questionsの配列が2つしかないのにindex=2 にアクセスしようとしてエラーが発生するものです。
この対応を次回に行おうと思います。